
Miniature Ball Screw Installation and Alignment: A Practical Checklist

Miniature Ball Screw Installation and Alignment: A Practical Checklist
A miniature ball screw can be specified to C3 or even C1 lead accuracy and still run rough, noisy or short-lived if it is mounted badly. Many problems with small screws trace back to miniature ball screw installation rather than to the screw itself. This checklist covers the steps that matter most when you fit a miniature ball screw into a linear stage, actuator or instrument.
1. Check the parts before you start
Confirm that the screw diameter, lead, accuracy grade and end machining match your drawing.
Keep the nut on the screw shaft. Taking it off can let balls fall out; if it must come off, use a mounting sleeve with the same root diameter.
Keep the shaft, nut and bearing seats clean, and remove anti-rust oil only where parts will be fitted.
2. Choose the ball screw bearing arrangement
The most common ball screw bearing arrangement is a fixed bearing at the motor end and a support bearing at the other end. The fixed side takes the axial load, usually with a pair of angular contact bearings. The support side only holds the shaft radially and lets it grow with temperature. Fixed–fixed mounting is stiffer and suits longer or faster screws, but it needs more careful alignment and room for thermal expansion. Short, slow screws are sometimes left free at one end.
3. Get the ball screw alignment right
A ball screw should only push and pull the nut along its own axis. Radial or moment load, for example from a carriage that is not square to the screw, shortens life and makes the drive run rough. Good ball screw alignment means the screw axis is parallel to the linear guides in both directions, and the bearing blocks and the nut housing sit at the same centre height. Measure with a dial indicator over the full stroke, and shim the bearing blocks rather than forcing the nut into place.
A simple test: with the motor coupling disconnected, turn the screw by hand from one end of the travel to the other. The torque should feel even. If it gets tighter near one end, the alignment is off at that end.
4. Fit the coupling and motor
Use a flexible coupling that can absorb small misalignment, and stay within the limits the coupling maker gives.
Tighten the bearing lock nut to the torque on the drawing. Too tight adds friction; too loose lets the shaft move axially.
Never hammer on the shaft or the nut.
5. Lubricate before the first run
Apply the grease or oil recommended for the application before the first run, then spread it by moving the nut slowly over the full stroke a few times. Clean-room and vacuum equipment may need a special low-outgassing grease, so check with your supplier before you choose.
6. Run in and verify
Start at low speed with short strokes, then increase step by step. Listen for noise, feel for heat at the bearings and watch the drive current. Re-check positioning accuracy and backlash once the machine is at working temperature, because the screw grows as it warms up.
Quick checklist
Parts match the drawing and are clean
Bearing arrangement suits the screw length and speed
Screw parallel to the guides and at the same centre height
Hand-turning torque is even over the full stroke
Coupling within its limits, lock nut at the specified torque
Lubricated, run in, accuracy re-checked when warm
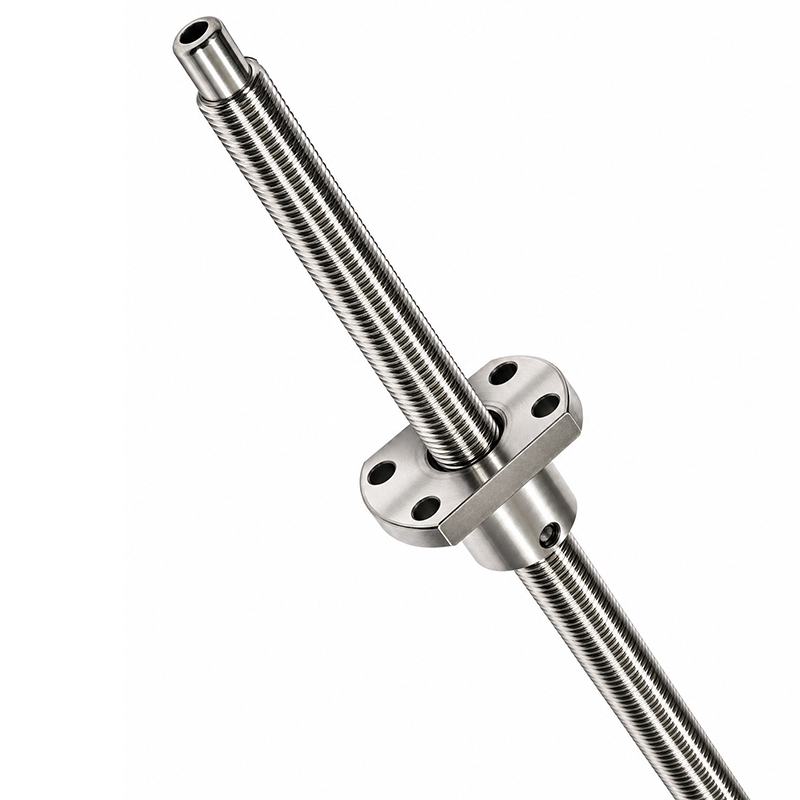
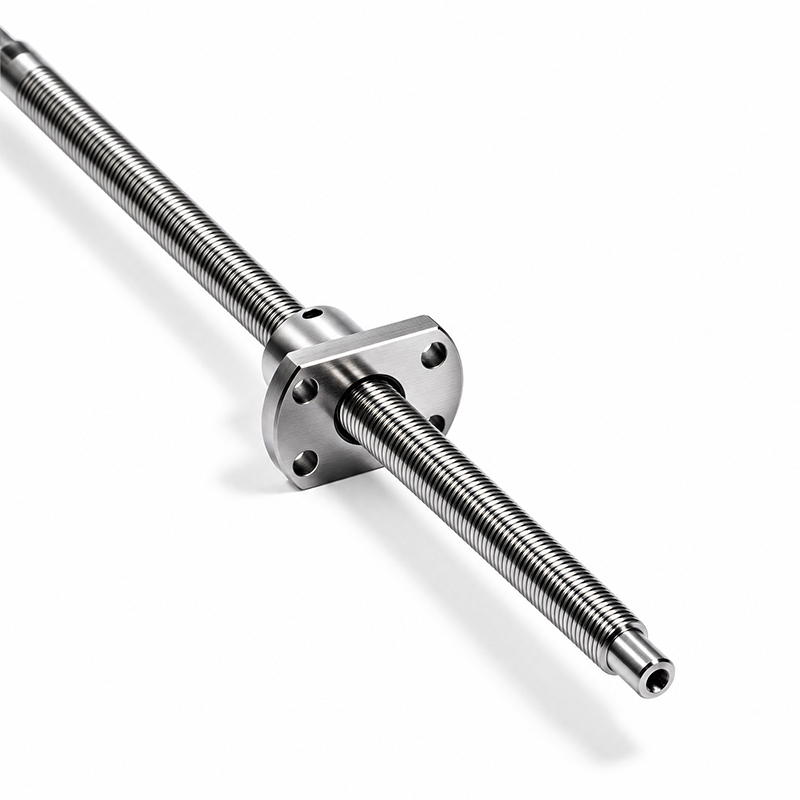
WY supplies miniature ball screws in rolled and ground versions, in accuracy grades from C1 to C7, with custom end machining. See our miniature ball screw range or send us your drawing for a check of the screw and its mounting.


Comments